
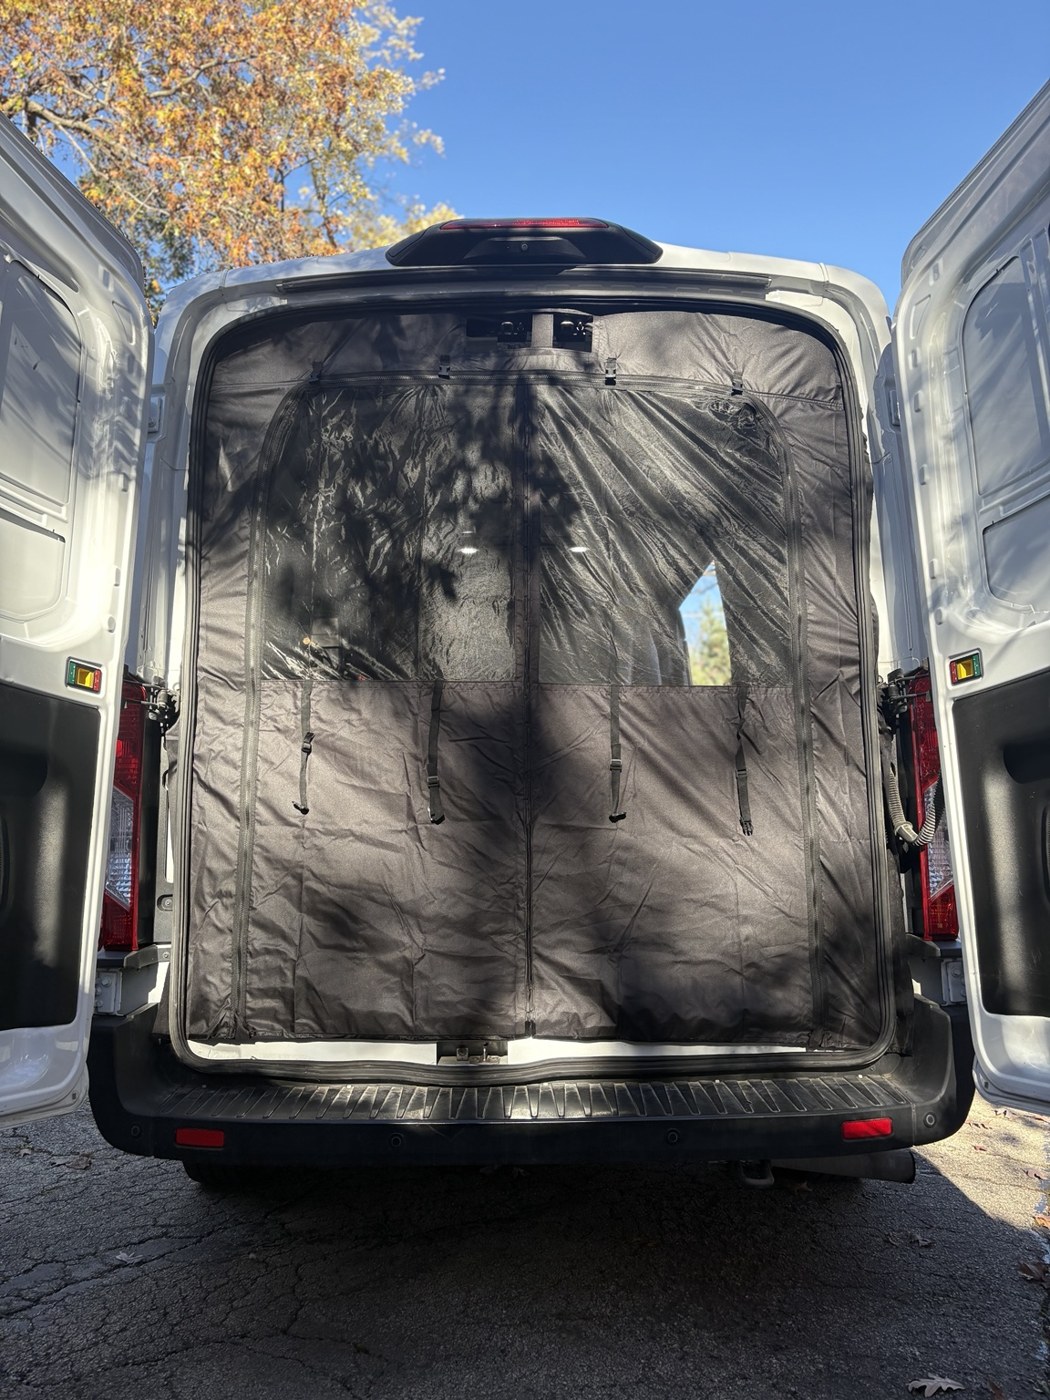

Introduction and installation overview
I installed the MELIPRON Rear Bug Screen on my 2020 Ford Transit 350 to add a screened rear doorway. The idea is straightforward: leave the rear doors open for airflow while the screen helps reduce insect entry. What interested me about this installation was the attachment method. Retaining clips hold the fabric in position, and the van's existing weatherstripping goes back over the mounting edge to help secure it.
The part that deserves the most attention is the initial fit. Before securing everything, I centered the screen and lined up its access window with the rear door latch mechanisms. Taking care here matters because the remaining clip placement and weatherstripping follow that alignment.
This review covers my installation and initial impressions. I haven't established long-term durability, weather sealing or insect-exclusion performance through extended testing.
Full installation video
Watch my full installation on YouTube ↗
What is the MELIPRON Rear Bug Screen?
It's a fabric screen for the rear doorway, fitted around the opening with retaining clips and the existing weatherstripping. The latch access window is a practical detail: its position needs to match the van's latch mechanisms so that access remains usable after installation.
The vehicle shown here is my 2020 Ford Transit 350. Use this as a walkthrough of that installation and check the exact product's fitment with MELIPRON before ordering for another van.
My Ford Transit installation experience
I worked with the top and both sides of the rear opening, leaving the bottom weatherstripping in place. With the metal flange exposed and cleaned, I could hang the screen temporarily from the upper corners and adjust its position before committing to the clips.
The process is easier to understand as three jobs: get the screen aligned, secure the fabric without losing that alignment, and seat the weatherstripping completely before trimming. I would treat trimming as the finishing step, because it removes material you may still need while adjusting the fit.
Tools and materials used
The documented installation involves the rear screen, retaining clips, the van's existing weatherstripping, materials for cleaning the exposed flange, and a sharp razor blade for the final trim. Check the product instructions for package contents and any additional tools or cleaning guidance.
Work carefully around the painted flange and rubber seal. Keep the loosened weatherstripping clean and untwisted, and keep the blade clear of the screen, rubber and bodywork when trimming.
Seven-step photo installation guide
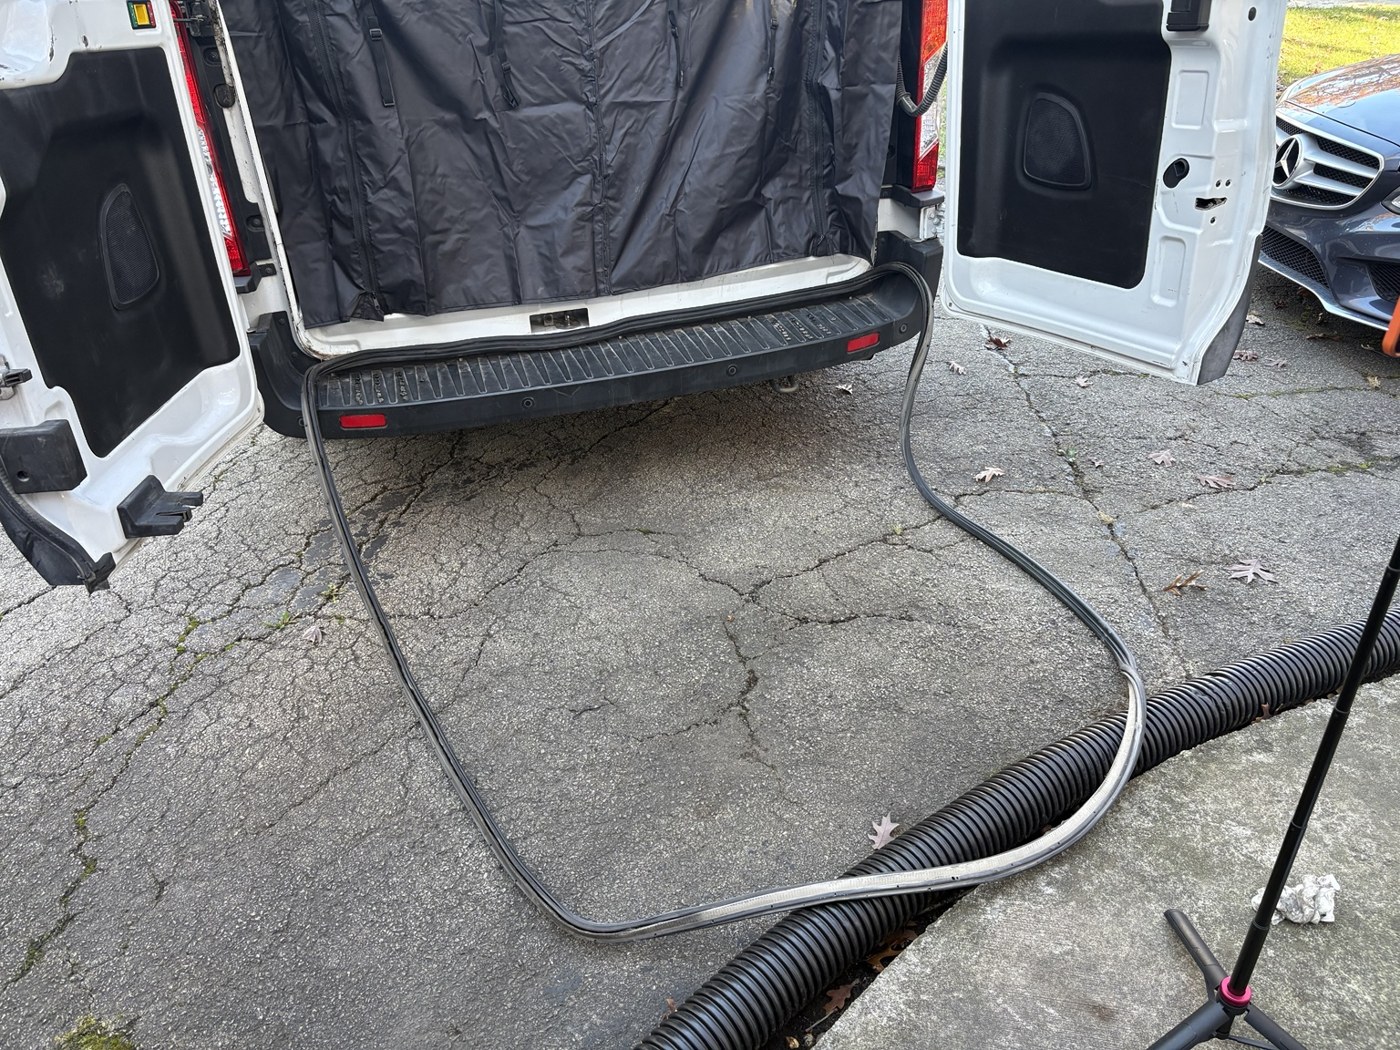
Step 1 — Remove the Weatherstripping
Carefully pull the factory rubber weatherstripping away from the top and both sides of the rear door opening. Leave the bottom section installed. Keep the loosened rubber clean and avoid twisting it while you work.
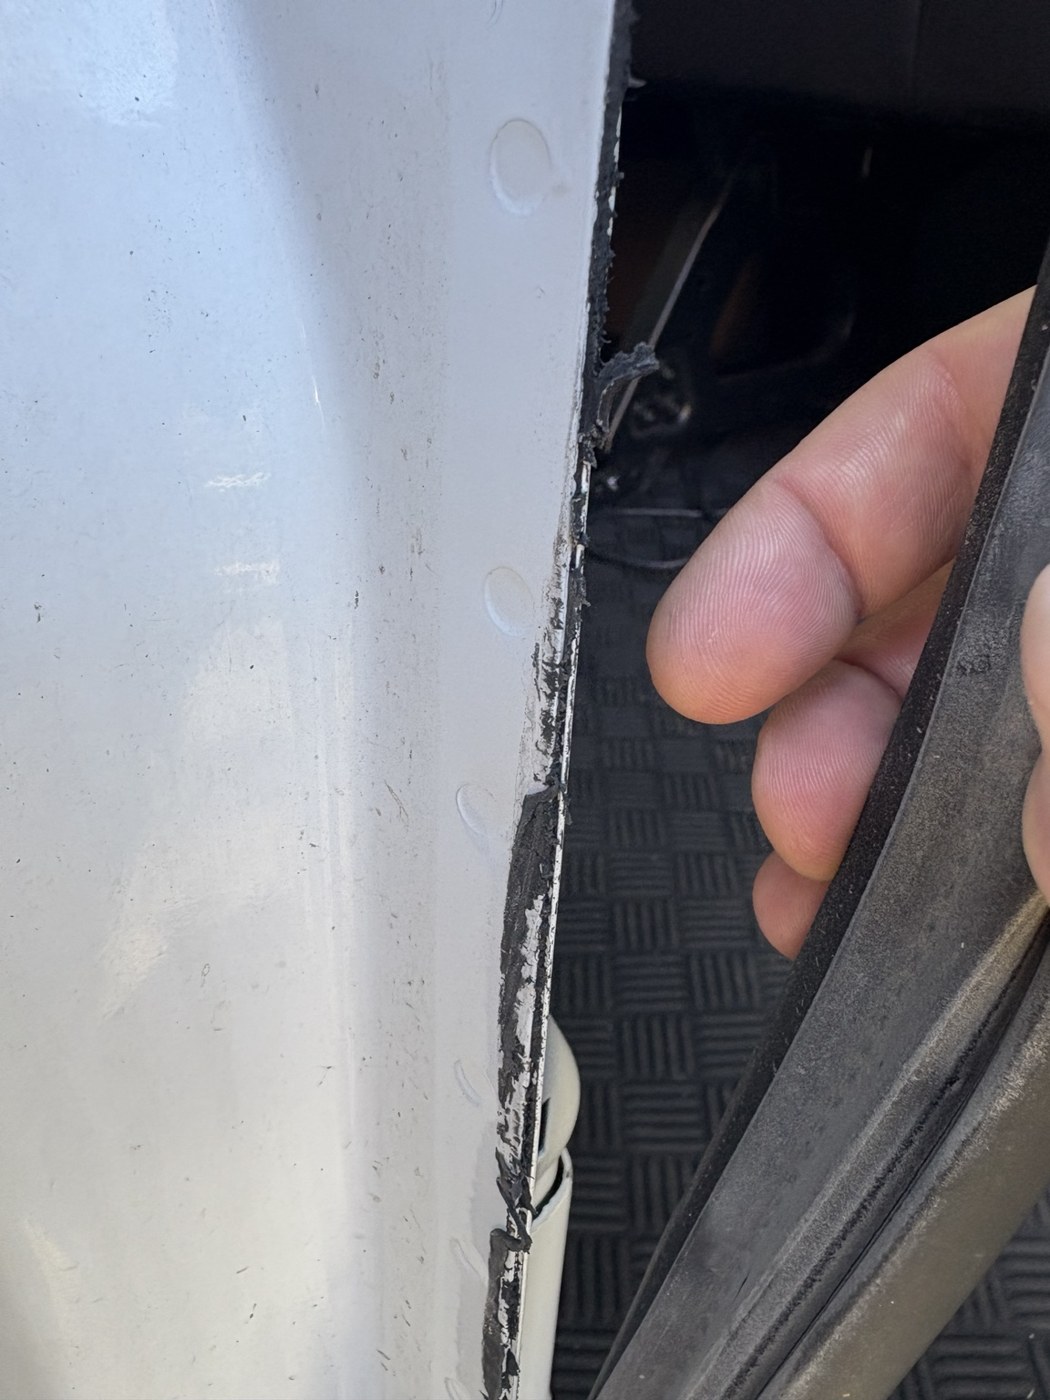
Step 2 — Clean the Exposed Metal Edge
Clean the exposed metal mounting flange. Remove dirt, loose residue and debris that could interfere with the retaining clips or stop the weatherstripping seating properly. Avoid damaging the paint or protective coatings.
Step 3 — Position and Align the Screen
Temporarily secure the two upper corners and center the screen horizontally. Line up the access window with the rear door latch mechanisms, then adjust the screen vertically before securing it permanently.
This is one of the most important steps. A screen can look centered overall while its access window is in the wrong position. Check both the fit around the doorway and access to the latches before the remaining clips and weatherstripping lock the fabric in place.
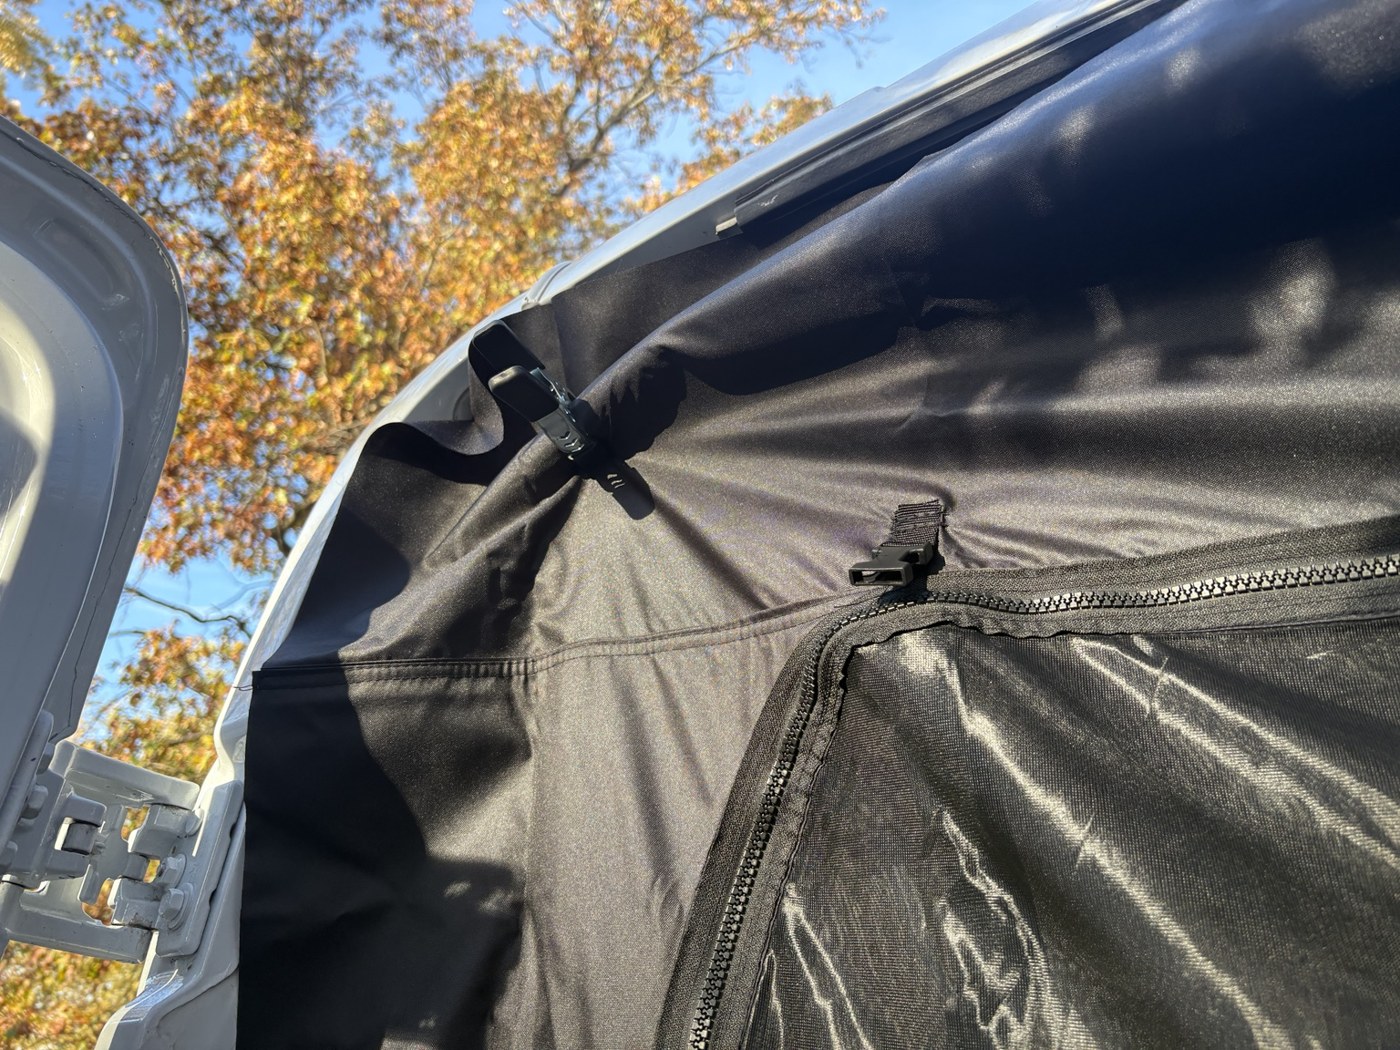
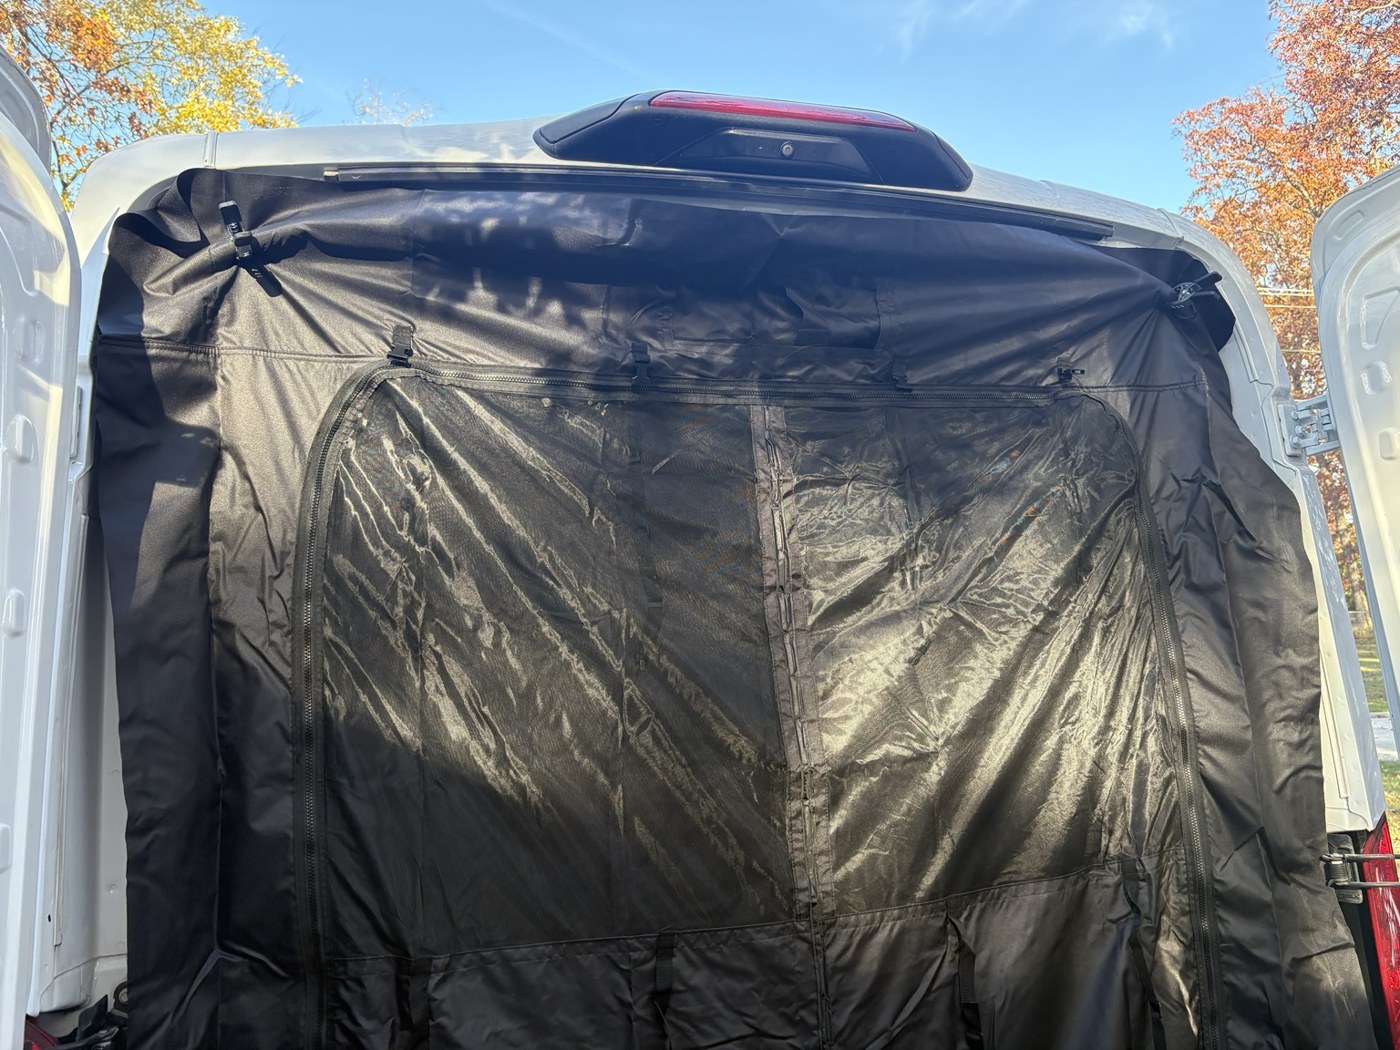
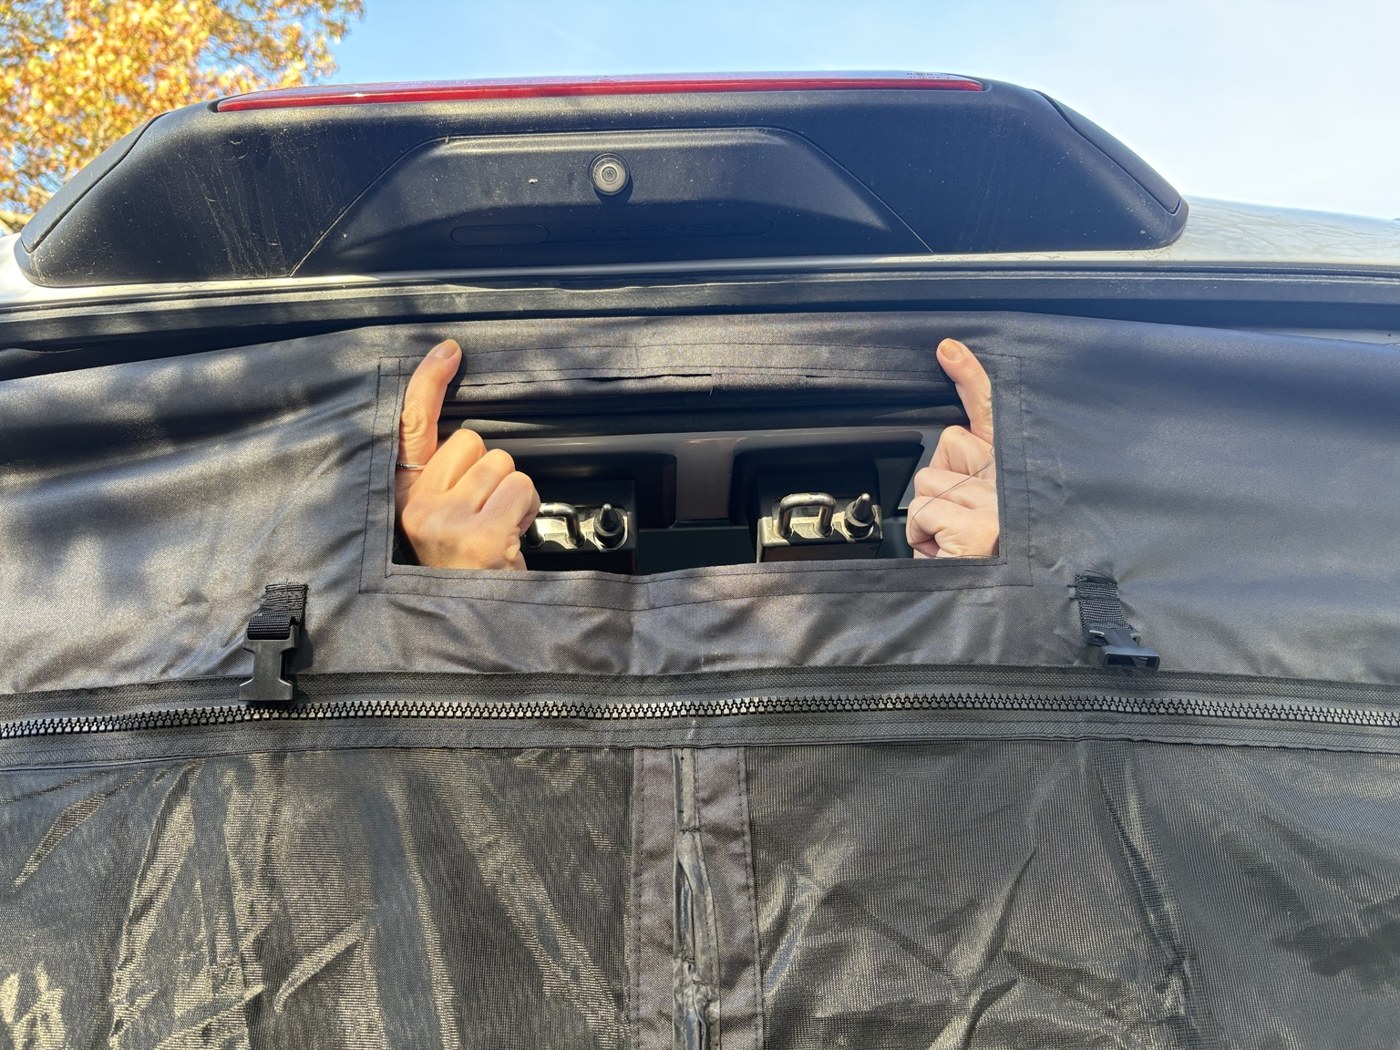
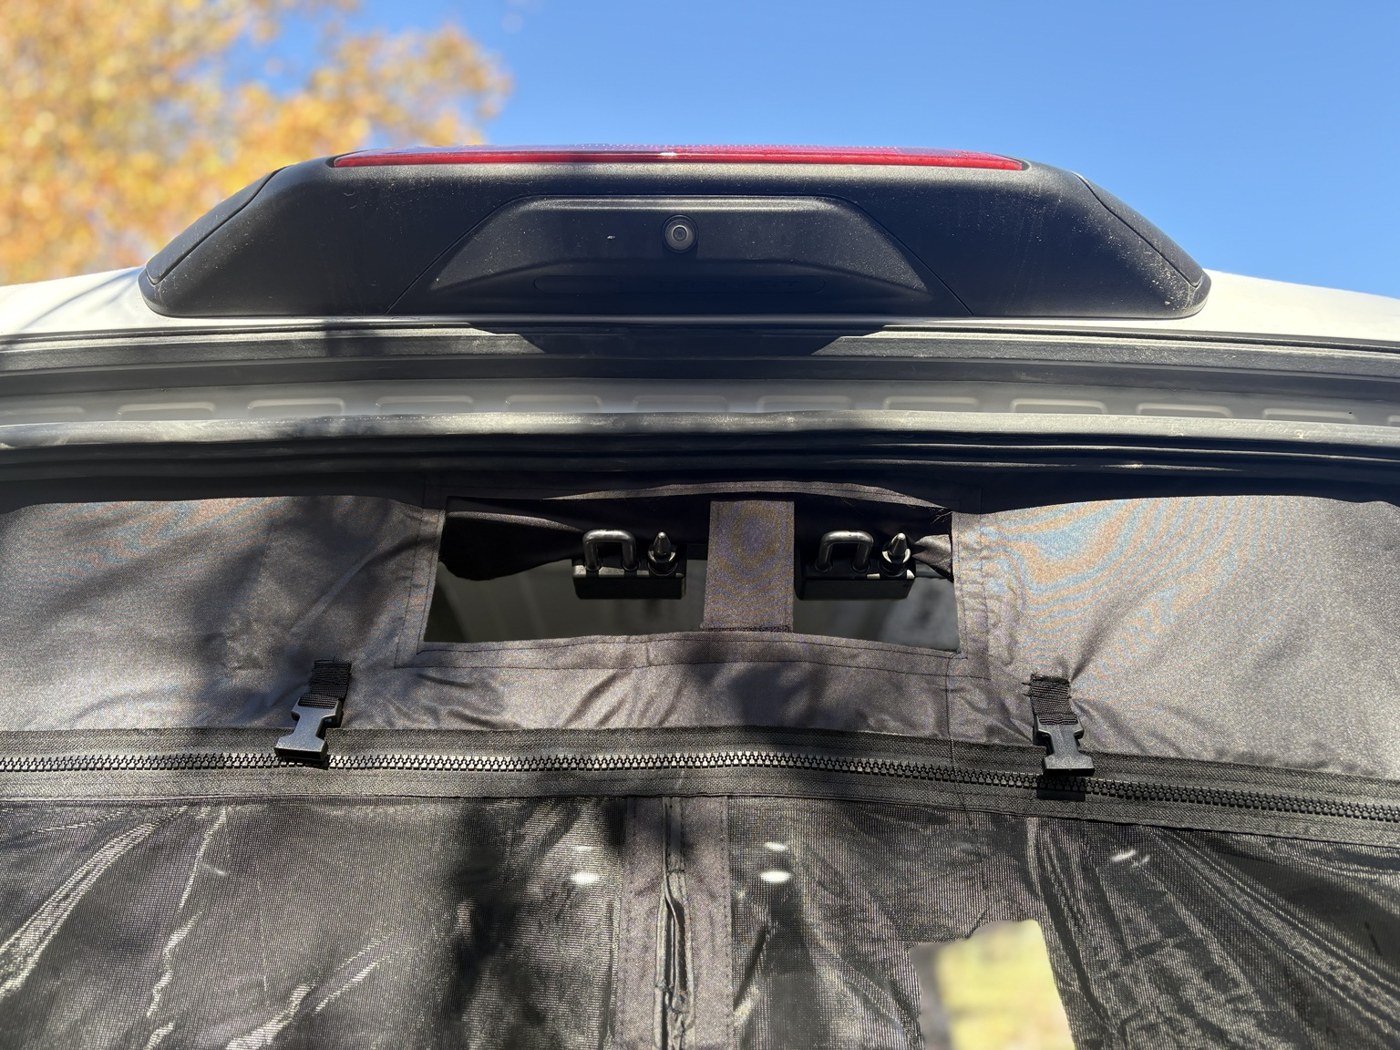
Step 4 — Install the Retaining Clips
Start around the latch access window. Work outward from the center toward both sides, then continue downward, checking that the fabric stays where you positioned it.
Leave approximately one inch of extra fabric beyond the intended taut edge so there is material for the weatherstripping to grip. Don't trim that allowance away at this stage.
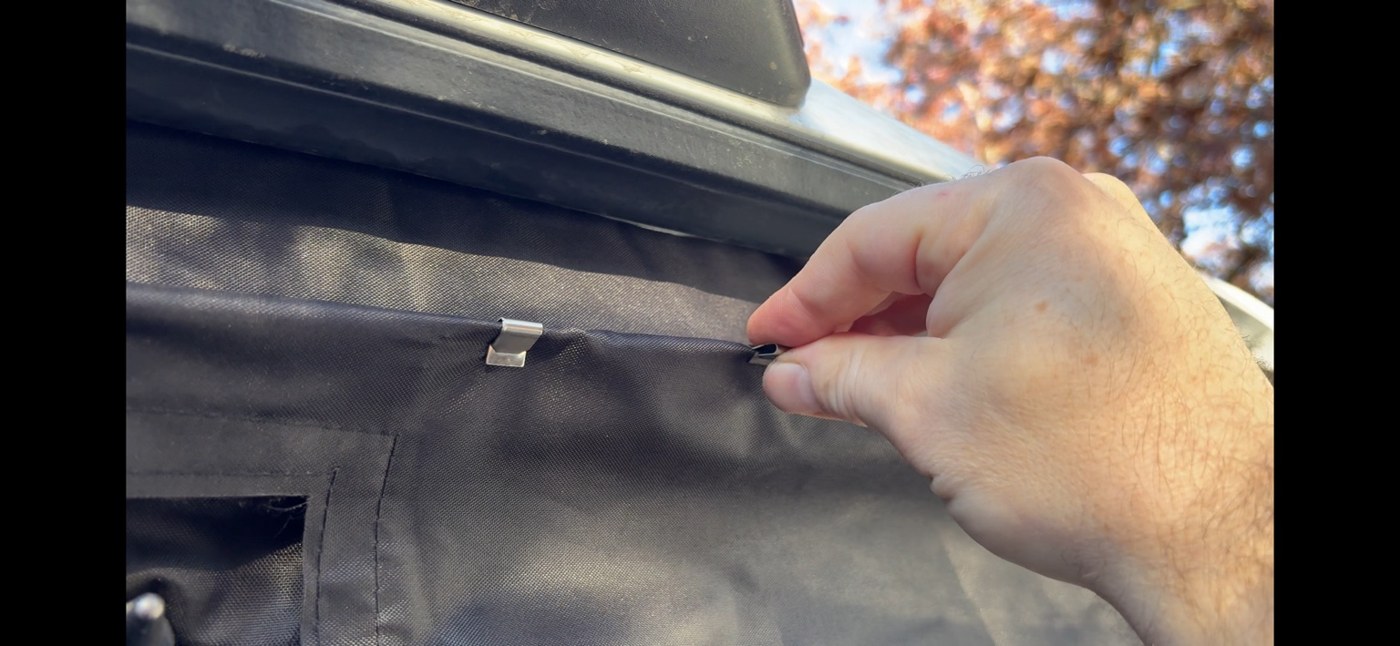
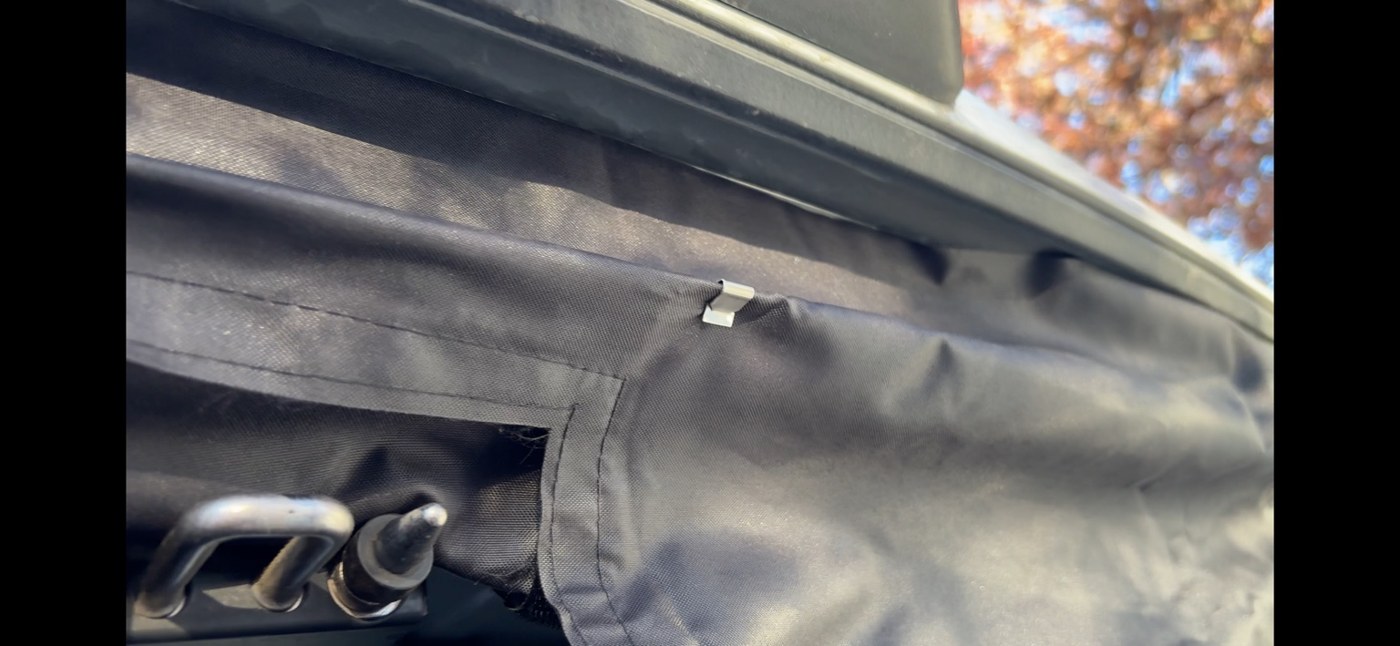
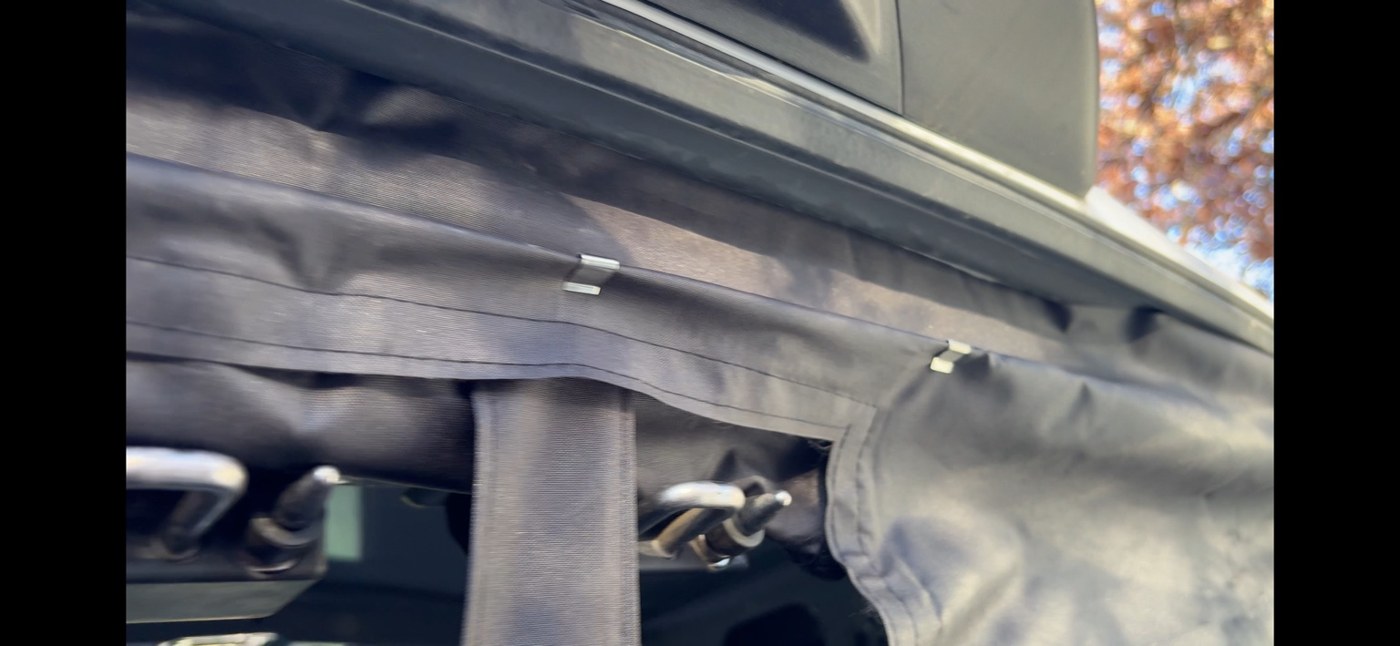
Step 5 — Reinstall the Weatherstripping
Begin at one bottom corner. Press the weatherstripping back onto the metal flange, moving up the first side, across the top and down the opposite side. Apply firm, even pressure and check that the seal is fully seated along the opening.
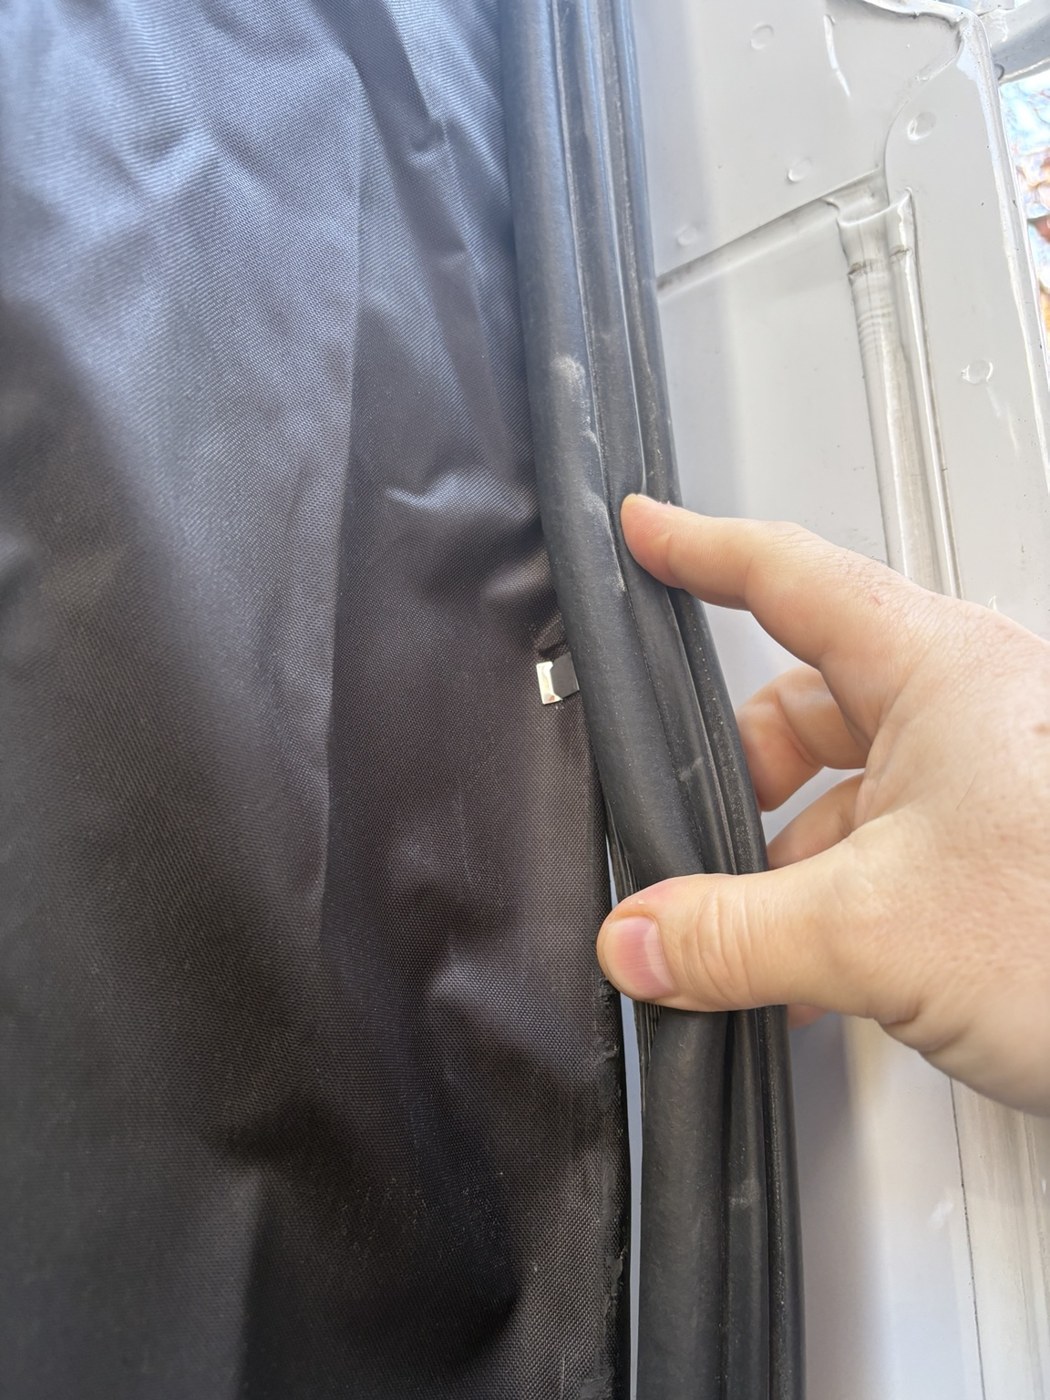
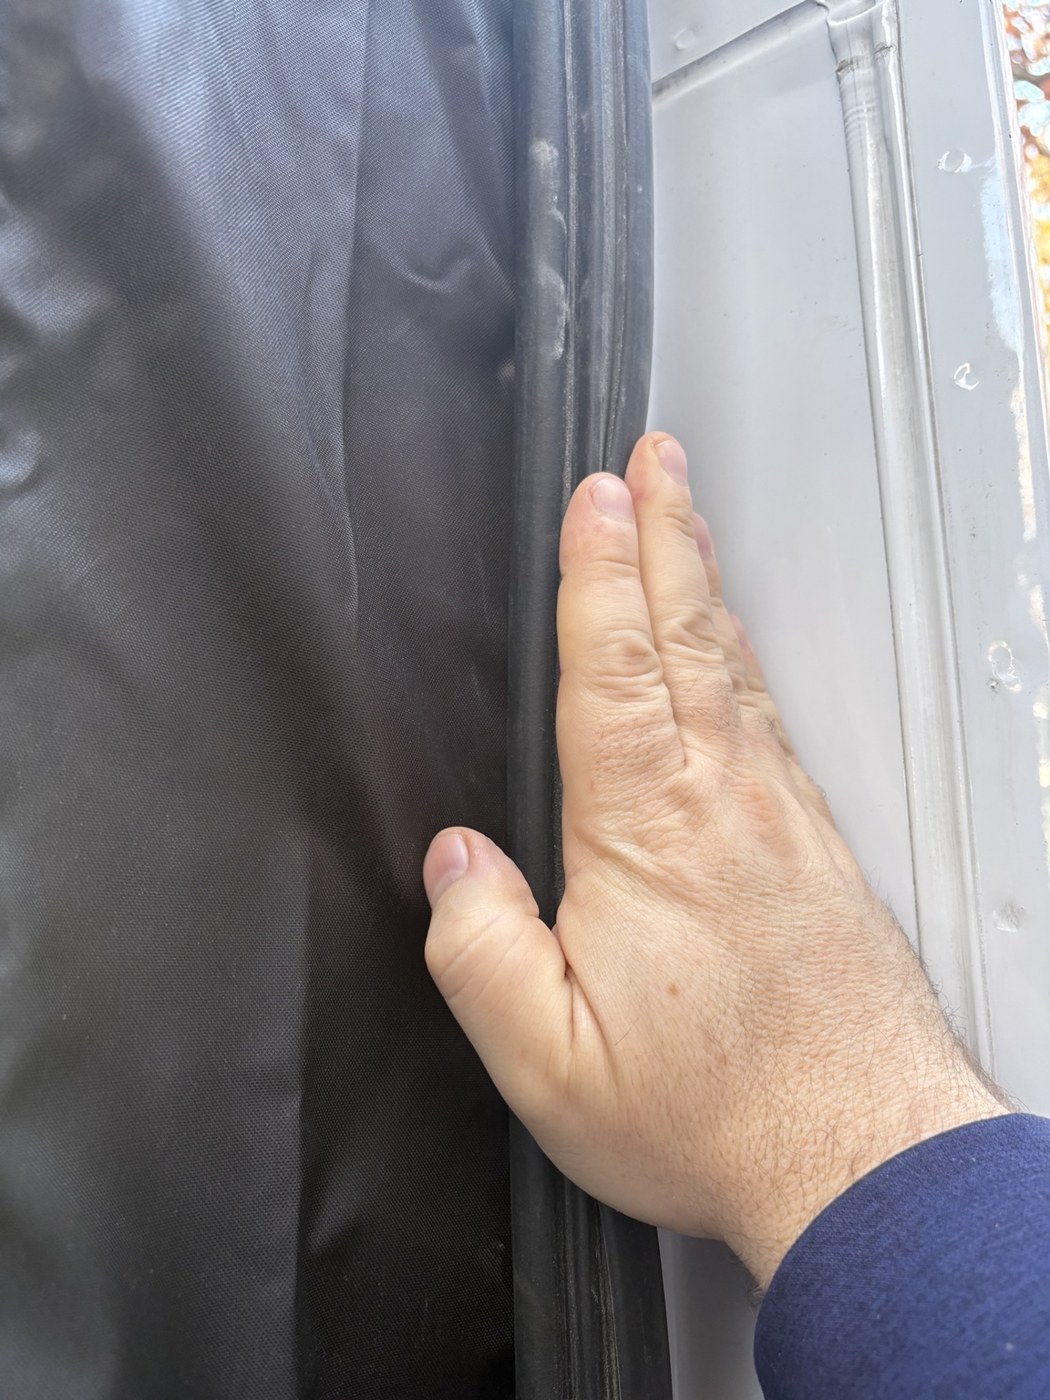
Step 6 — Trim the Excess Fabric
Wait until the weatherstripping is completely seated. Then carefully trim the excess fabric along the outside of the seal with a sharp razor blade. Work slowly and keep the blade away from the screen, weatherstripping and painted bodywork.
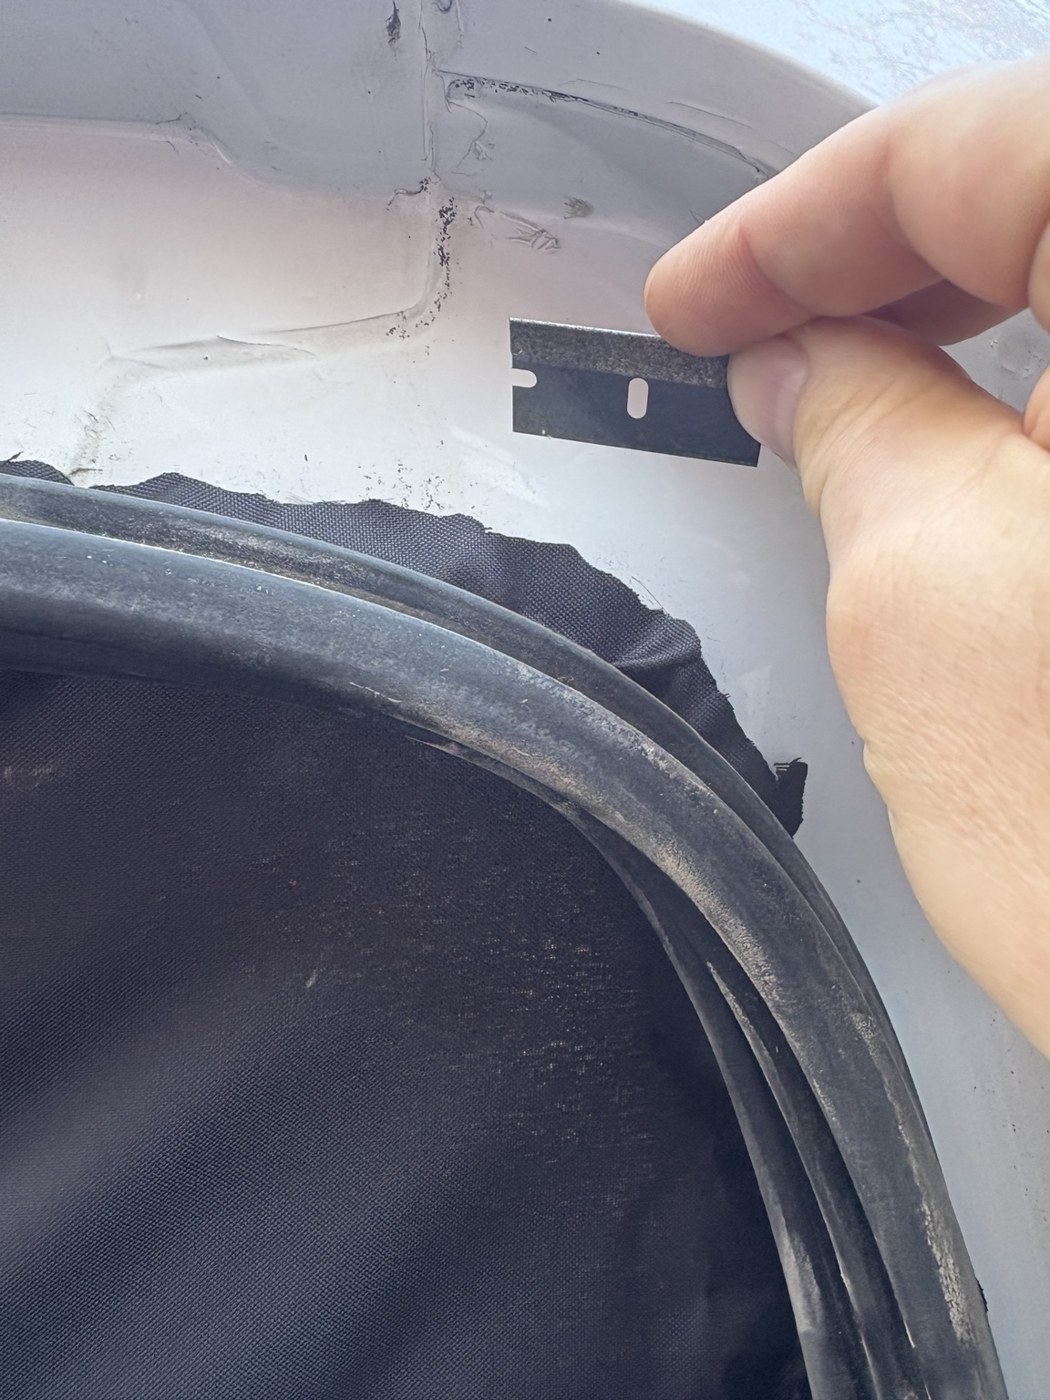
Step 7 — Enjoy Your Bug-Free Van
Inspect the perimeter, confirm that the latch access window remains accessible, and test the screen's opening and closure. This is the final check before using the screened doorway.
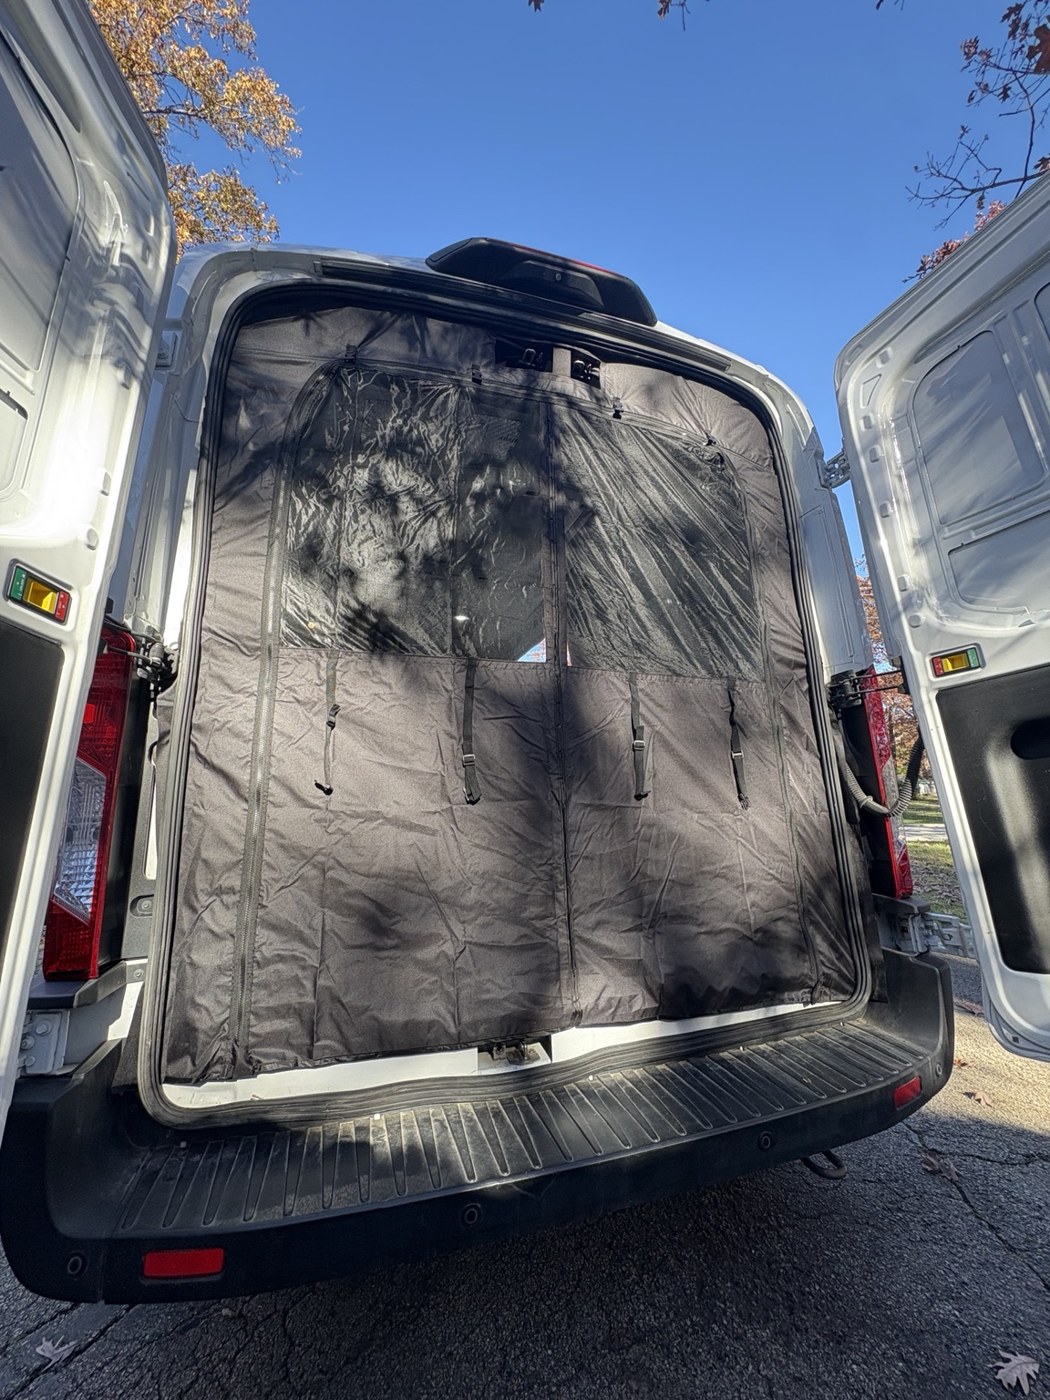
What I like about the design
The weatherstripping-based attachment gives the finished screen an integrated look in the rear opening. The clips let me position and hold the fabric before reinstalling the rubber seal, rather than trying to complete every part of the fit at once.
I also appreciate the latch access window. It's a feature worth paying attention to during alignment because it preserves access where the screen crosses the latch area.
Installation considerations and potential drawbacks
This installation requires removing and carefully reinstalling the weatherstripping. Clip placement and fabric allowance matter, and trimming is a step to approach slowly. If the screen needs repositioning, make that adjustment before cutting away the excess.
Those are the practical considerations from the installation. I don't have evidence for claims about years of use, weatherproofing or compatibility with other van models.
Final impressions
For my Ford Transit installation, this is a practical way to add a rear screen using the existing weatherstripping as part of the attachment. The neat fit around the opening is what stands out in the finished result. My advice is to spend the time on alignment—especially at the latch access window—and leave trimming until the seal is fully seated.
Related content and brand navigation
More products I have featured → · What I am planning for my Transit →
MELIPRON discount and purchase link
Disclosure: This article contains affiliate links. I may earn a commission if you purchase through my links, at no additional cost to you.
Customer discount code: GUNTHERSNAPS
The supplied offer is 10% off purchases using GUNTHERSNAPS, subject to merchant terms. Confirm eligible purchases and the current offer with MELIPRON at checkout.
Shop MELIPRON — Save 10% with GUNTHERSNAPS ↗Downloads
Download the Free MELIPRON Rear Bug Screen Installation Guide (PDF) · DOWNLOAD →
10886 KiB · Original release archive